Experience the power of Luzmo. Talk to our product experts for a guided demo or get your hands dirty with a free 10-day trial.


September 14, 2020
Tuana Çelik
Follow this step-by-step code tutorial to build customer-facing analytics with Auth0 for authentication and Luzmo for data visualization.
🚨 Our embedded analytics platform, formerly called Cumul.io, is now Luzmo! You can read all about our rebranding here. To avoid confusion: the GitHub repos and code snippets used in this tutorial may have references to Cumul.io. But fear not! Any code that you'll leverage in this tutorial is still fully functional. So simply follow along, and if you'd happen to run into any issues, you can reach us at support@luzmo.com.
In a previous blog post we had walked through a number of ways to handle multi-tenancy in Luzmo. In this tutorial, we will walk through how to configure your Luzmo dashboard with multi-tenancy based on user information on login, which we manage with Auth0. Before we dive into the specifics, let me give you some context on what these two platforms are used for;
Luzmo (formerly Cumul.io): SaaS that allows you to create your own data insight and analytics dashboards that you can easily integrate and embed within your own platform.
Auth0: A flexible solution to add authentication and authorisation services to your application. You can connect any application to Auth0 and define how you want your users to log in.
You can either clone this repo and follow the steps exactly, or you could take this as a guide for your own setup. The repository already implements a simple single page web app which has an integrated dashboard that you can run locally. To be able to follow these steps you will need a Luzmo account (free trials are available) and an Auth0 account.
Multi-tenancy on your dashboard gives you the freedom of deciding who sees what when they visit it. It lets you decide for example what an internal user may see (such as an employee) or what an end user may see.
Assume you have a company which owns various products and you want to see how sales are going for each product. You want to have a dashboard that displays this but you don’t want all employees to see all products, rather the one related to their department. This is only one simple example of why you would want user-based filtering. It is so that you can make sure an end user only gets to see what’s intended for them.
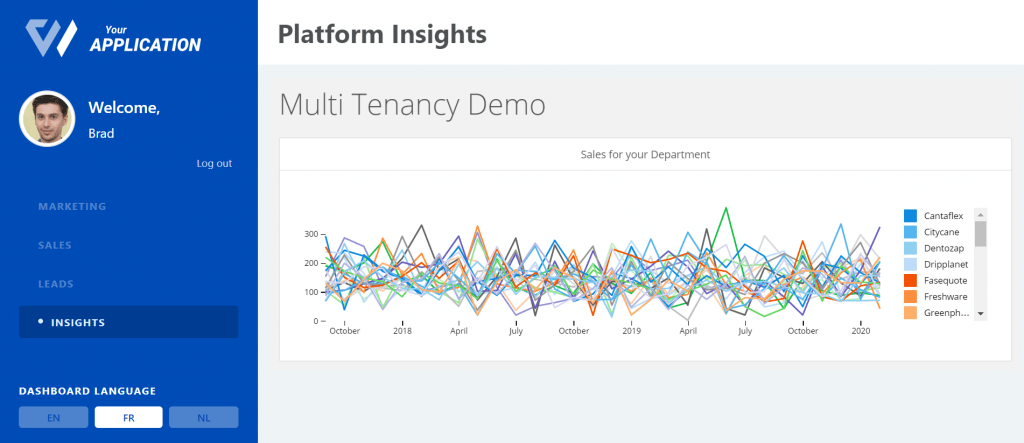
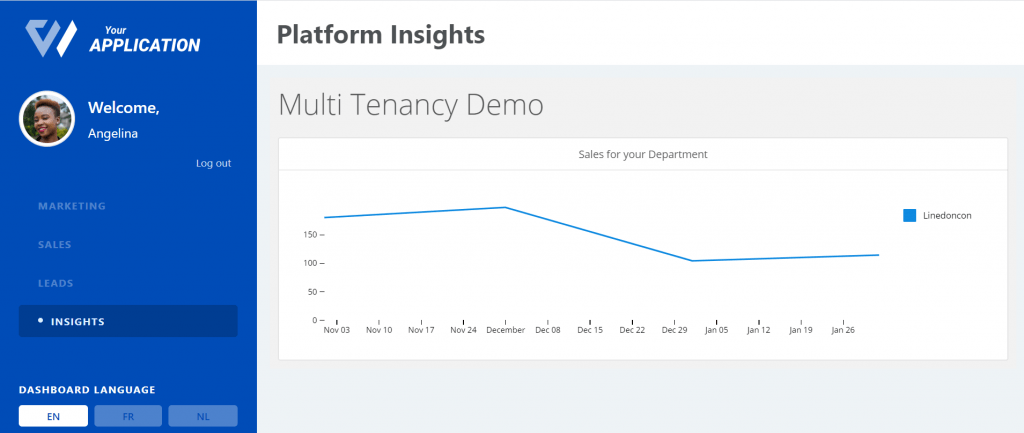
Our aim in this tutorial will be to get our imaginary employees Angelina and Brad to go from seeing this:
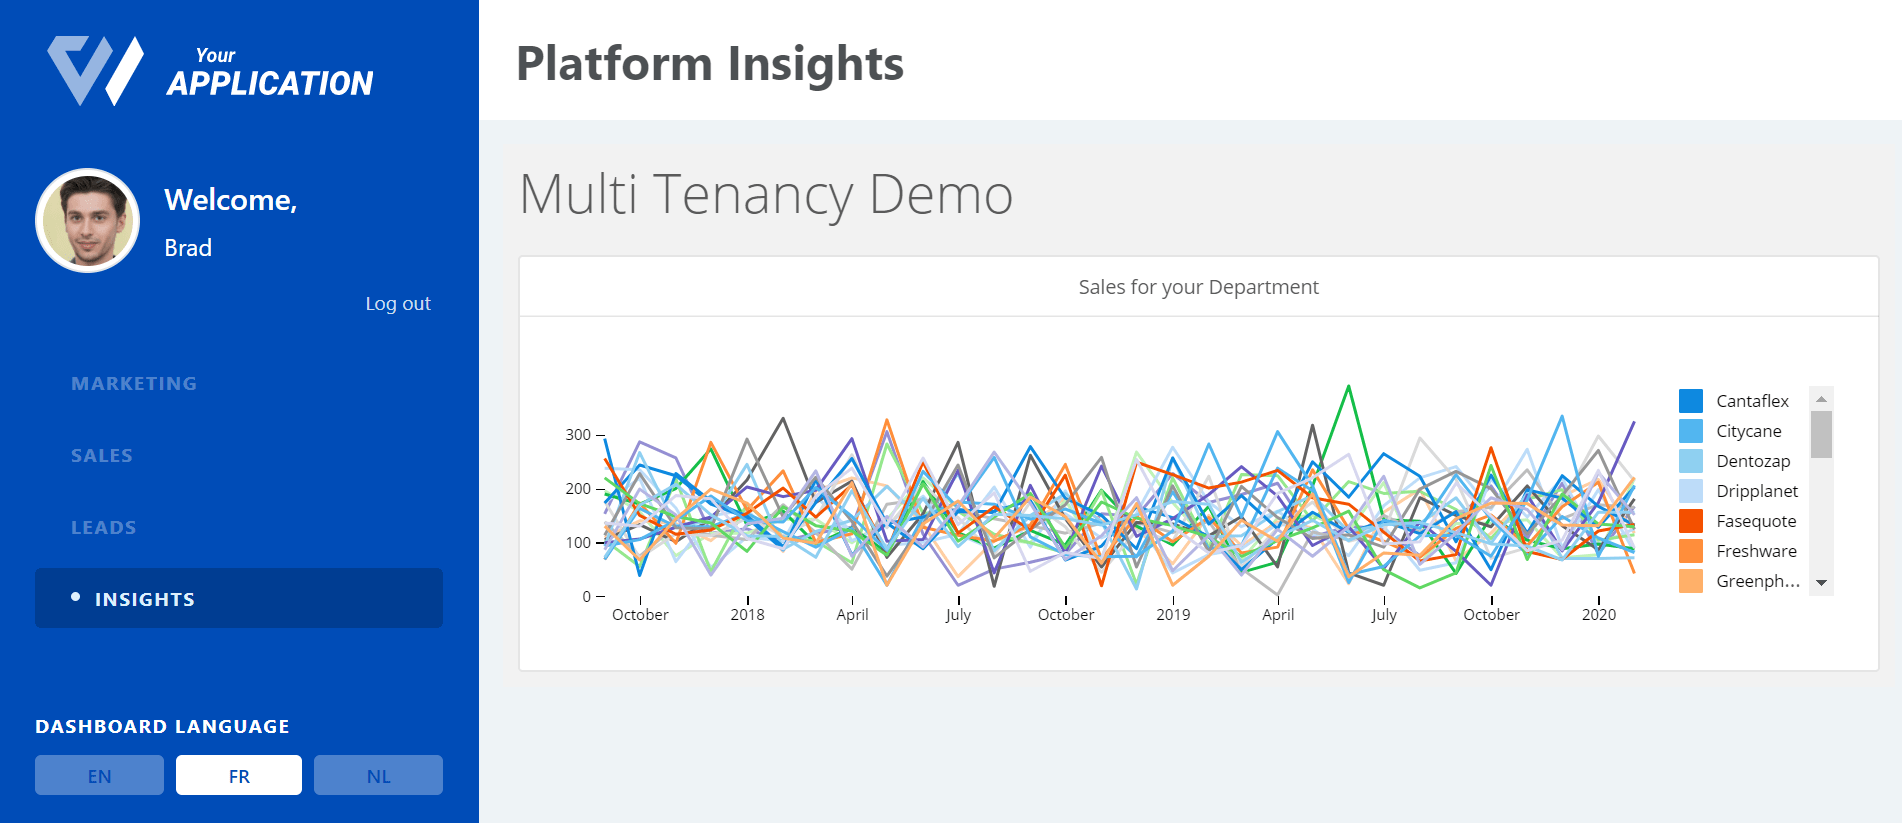
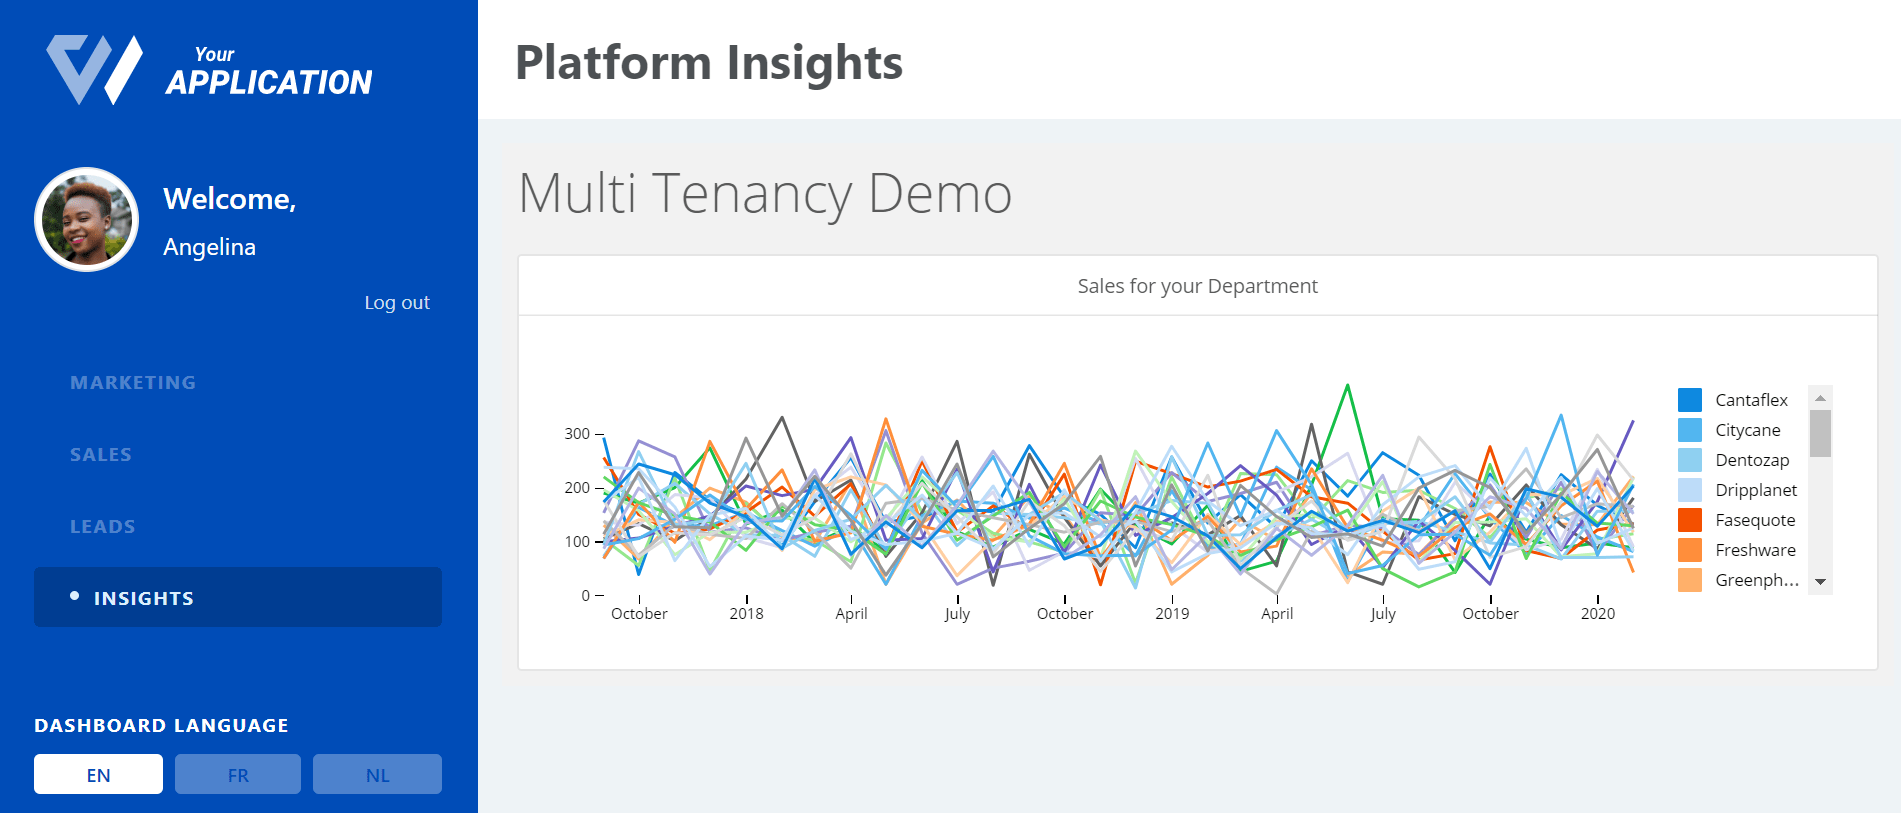
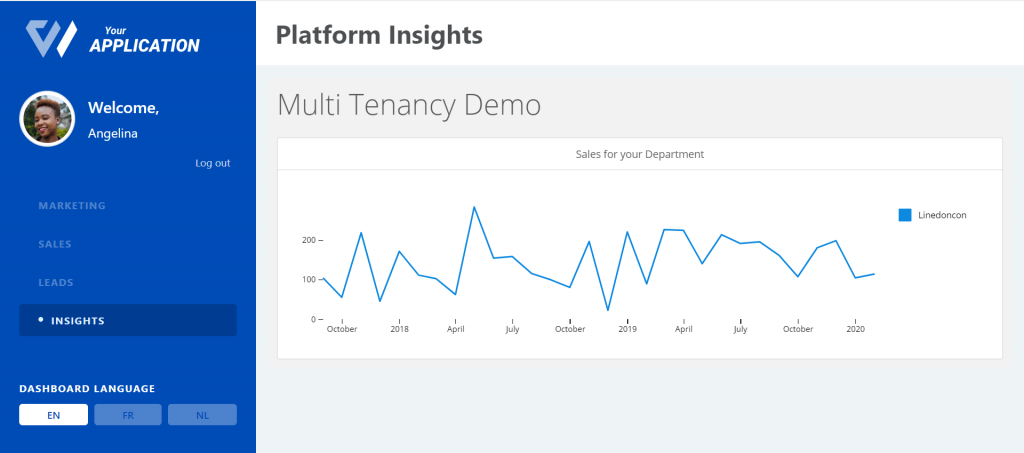
To these:

First step, log into your Luzmo account and create a new dashboard (we’ve named ours “Multi-Tenancy Demo”). In this example we use the “United Widgets Sales” dataset, which you can find at:
DATA → (+) → Demo Data → United Widgets Sales →Import:
We have selected a grouped line chart and have used the Month in Datetime for the X axis, the Amount for the Measure and grouped by Product name to obtain the following.
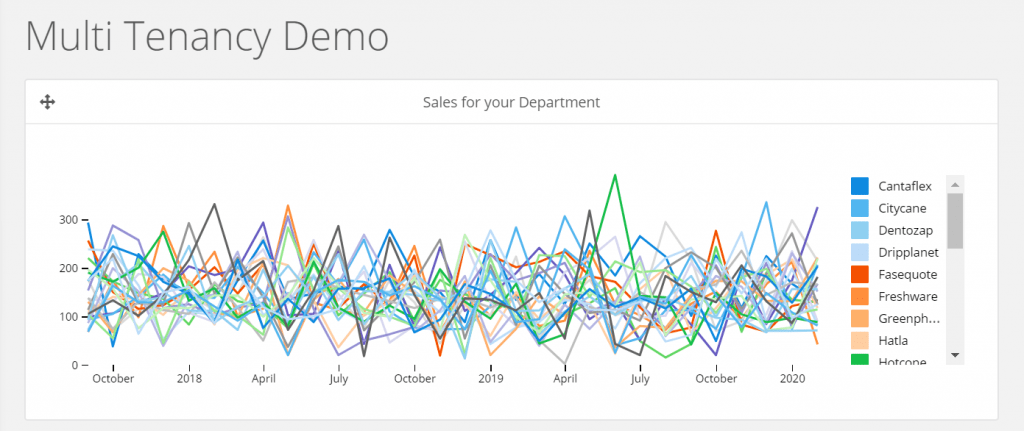
To place the chart and attach data to it, it is a simple drag and drop. You can find the chart and other options on the left ‘Add items’ tab. You can also drop data into the relevant axes from the Data tab.
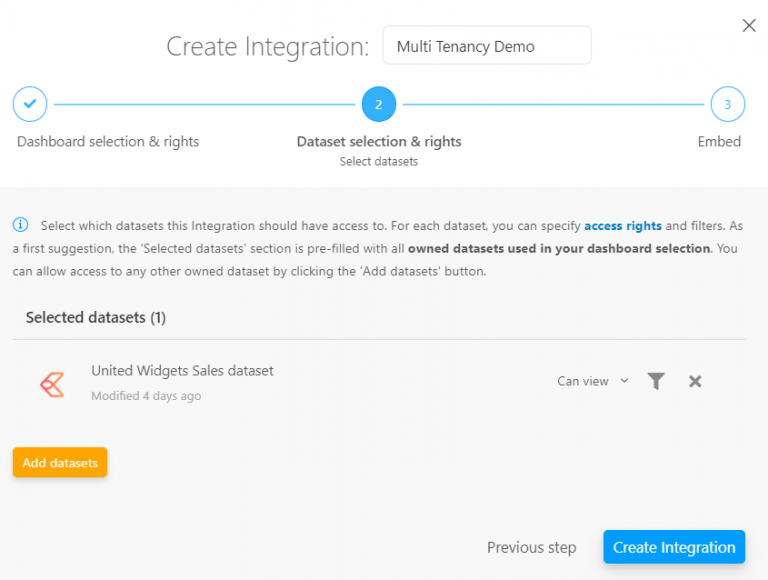
To use and embed the dashboard we created in the previous step in a web application we need to first create and associate it to an Integration in Luzmo.

Let’s assume our company has 2 employees. Angelina Julie and Brad Pots. Now, we will add them as users to our app on Auth0.
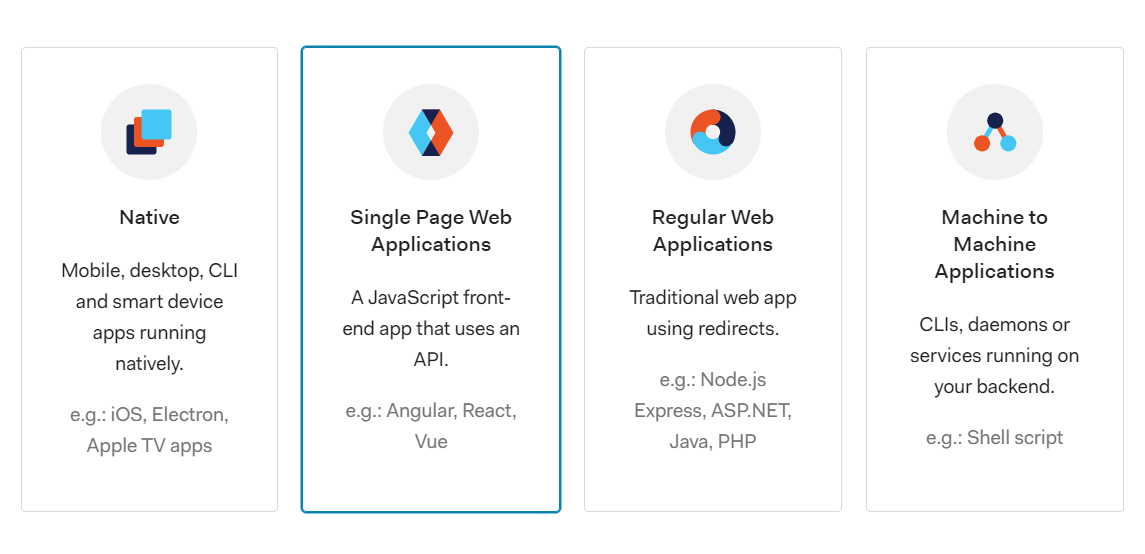
In the Applications menu, create a new Application and select Single Page Web Applications.
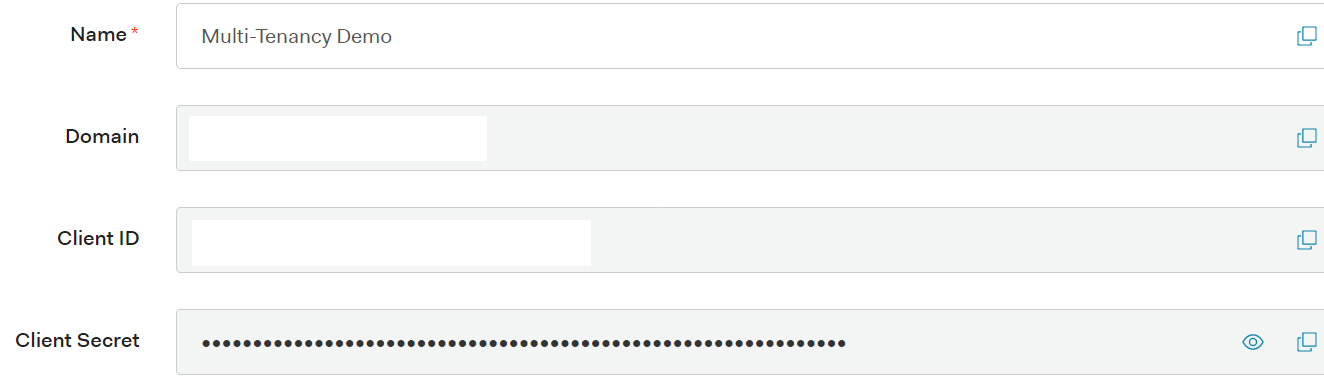
In Settings, you'll do the following steps.
1. Copy ‘Domain’ & ‘Client ID’ to the same attributes in the auth_config.json file in the repo you’ve cloned.
2. In ‘Application URIs’ set the parameters:
3. Save Changes
4. In the Connections tab, deactivate google-oauth2
Next, in the APIs menu, copy the API Audience to the audience attribute in the auth_config.json file.

Here, we use the default System API (Auth0 Management API). But you may also create your own custom API and have the freedom of defining your own permissions.
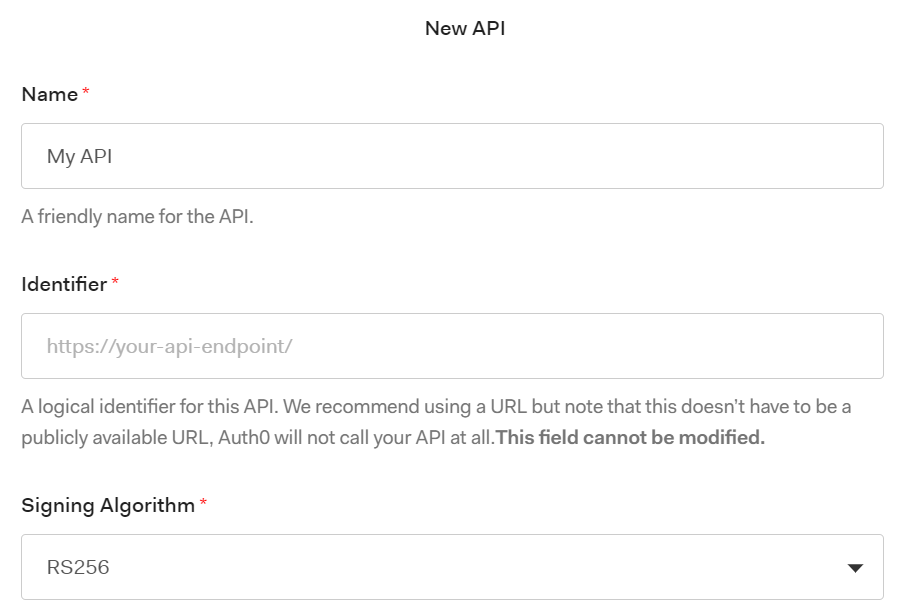
You can browse permissions in the Auth0 Management API to get an idea of what sort of permissions you would like to include in your custom API.
Then, you'll add some users in User Management → Users.
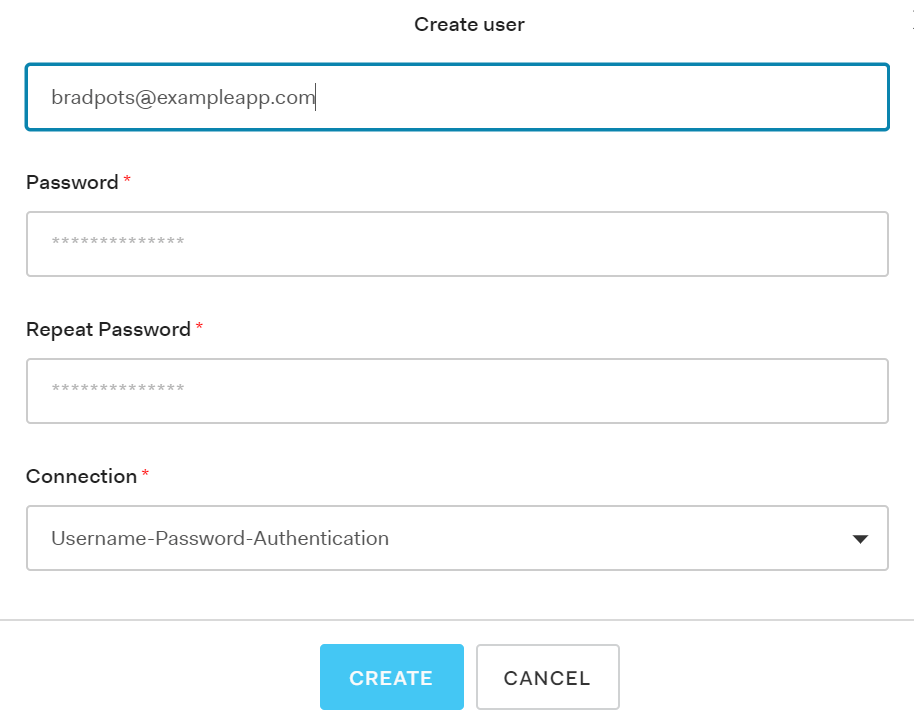
Generating an SSO token requires a username, name, email, suborganization, integration_id and role.

For Brad:
For Angelina:
If you are following this tutorial with the example repo (cumulio-auth0):
Create a file called ‘.env’ in the root directory. Here, create the following 2 keys and add the KEY and TOKEN from your Luzmo account (You can create one in your Profile settings under API Tokens - CUMULIO and LUZMO key and tokens are interchangeable):
Fill in auth_config.json with your own Auth0 configuration.
If you are following this tutorial with your own set up, or would like some more info on how this setup works, we have some additional guidance for you. You can follow the steps in this guide to embed your dashboard within your own setup.
This step is where we allow our app to receive metadata for users once they log in. Here, we will use user_metadata for user preferences such as language selection, and we will use fields in app_metadata as parameters for the dashboard to filter on. This will allow users to only see the Sales for only their department.
In order to achieve this, we will add relevant metadata to our jwt tokens. For this, we can add a rule in Auth0.
Go to Auth Pipeline → Rules and create an empty rule with name ‘Add metadata to token’. Here you can use the following code or modify it to your needs. This rule adds the user_metadata and app_metadata to your jwt token.
⚠️ This makes sense for this use case as the user_metadata and app_metadata are both very small here. However if you have large metadata content you may want to consider making a separate call to Auth0.
In server.js, notice the following block of code. This tells Luzmo that you want to use ‘department’ that you’ve received from the jwt token as a parameter to filter on.
In the following section, we will add the parameter to the dashboard and filter the line chart on this parameter.
Now the application is receiving department as a parameter, but the dashboard is not doing anything with it. If you run (npm run start), go to localhost:3000 on a browser and log in as Brad, you will still see a chart containing sales data for all departments.
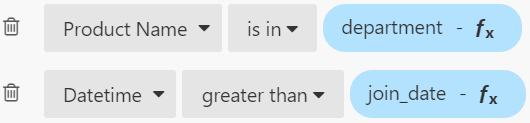
Now it’s time to create a department parameter on the dashboard and add it to a filter:

Once you apply this new filter, the chart you see on your Luzmo dashboard will display data only for product names that are included in the department parameter, and nothing if you haven’t added any values to the parameter.
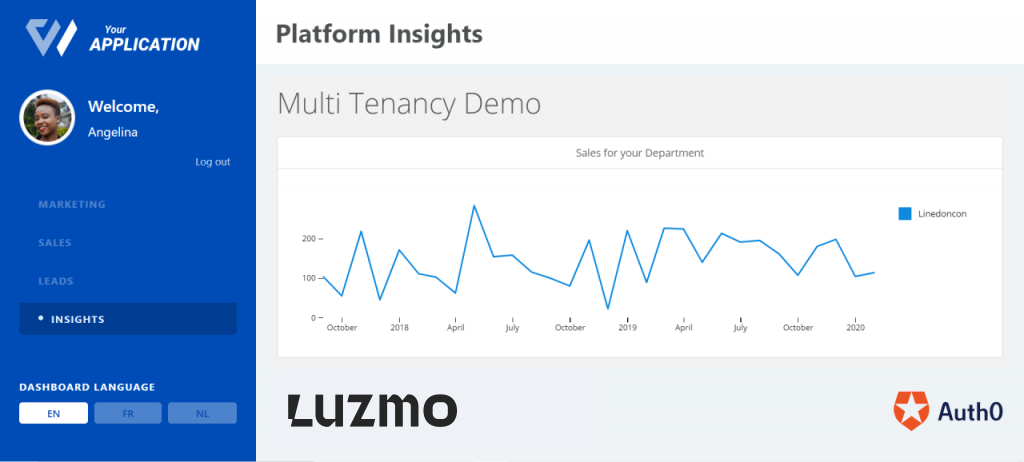
Now you’re all set! You can run npm run start and go to localhost:3000 on a browser. Once you login as one of your users you will see that they can only see data related to their department.
For Angelina:
Now that you’ve filtered your dashboard depending on what department your employee works on, let’s walk through what you can do to add something else if you want to. This section is a summary of steps you will need to take, and can be adjusted as you wish.
Assume you don’t only want to filter based on department, but you also want to filter a dashboard based on an employee’s date of employment. For some reason, let’s say you don’t want an employee to see sales data from before they joined. Here’s what you can do:
1. Let’s add a ‘join_date’ field to our users’ app_metadata on Auth0. For example:
2. Add join_date as metadata to send to Luzmo in server.js.
3. Create a join_date parameter of type Datetime on Luzmo (we’ve selected 1 September 2017 as default value).

4. Add a filter to your dashboard that filters dates greater than join_date and Apply.
5. Run npm run start and go to localhost:3000.
When you login as Angelina for example, you now only see sales data for dates on and before her join_date (1 Nov 2019).
💡Note: At this point as your code is expecting a join_date field from the metadata it’s receiving from Auth0, you will have to add the same field in other users’ app_metadata.
You are all set and now should have a working web app with an integrated multi-tenant dashboard! Finally, here are some useful resources to conclude:
Experience the power of Luzmo. Talk to our product experts for a guided demo or get your hands dirty with a free 10-day trial.


